Tag: winter hay bale grazing

  • Raising Beef Cattle in Brutal Winter Conditions and Sticking to the Routine

    Hello from windy, northern Maine!

    Spring/Summer 2018 Calves at their winter hay bale site.

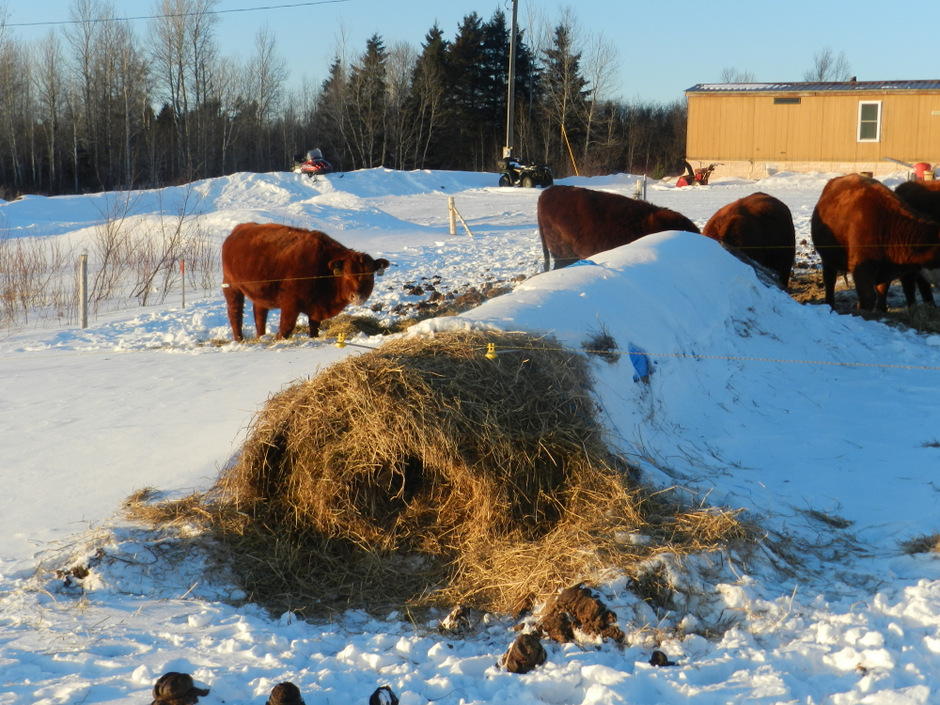
    The wind has been whipping through our area like a bull on a mission during the breeding season. ha! We have had wind gusts up to 50 mph, with the potential for wind chill to reach -40 F today. It makes a person want to hunker down and hibernate for the day. Hiding is not an option when you operate a farm or ranch, even during the most brutal of winter conditions. Snow, sleet, wind, polar vortex induced cold, rain, ice, and sometimes, sweltering heat (starting to believe, though, that that option may not longer exist up here! ha!)……..the farm…the ranch…your animals…need YOU! My absolute favorite person in the world did the morning check on the snowmobile this morning. Thank you, Jer!

    On a normal winter day the daily routine looks like this:

    Heading out, on the AM check.

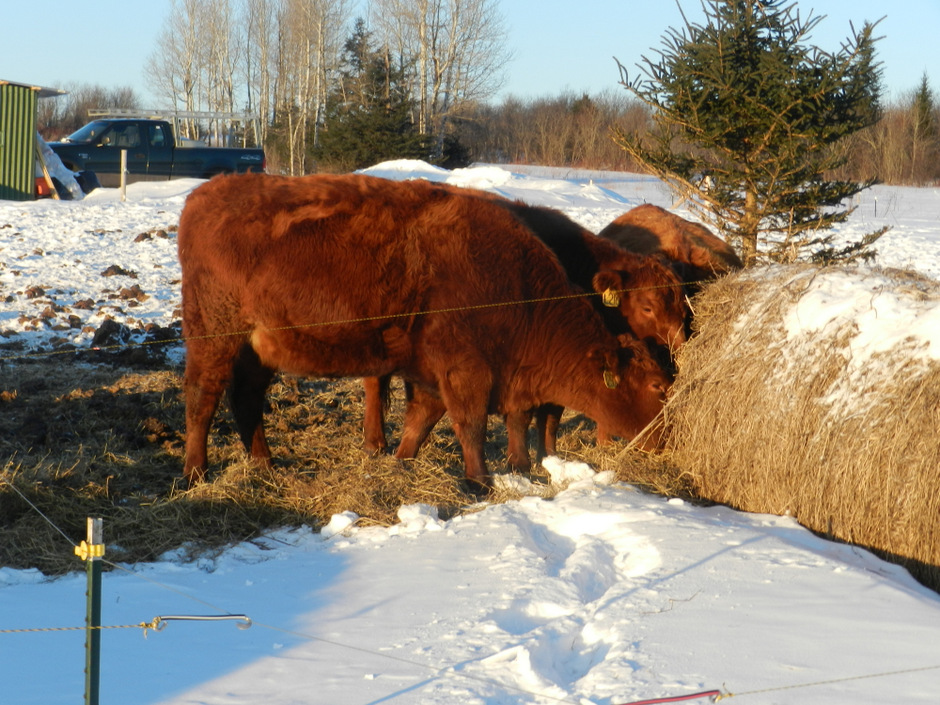
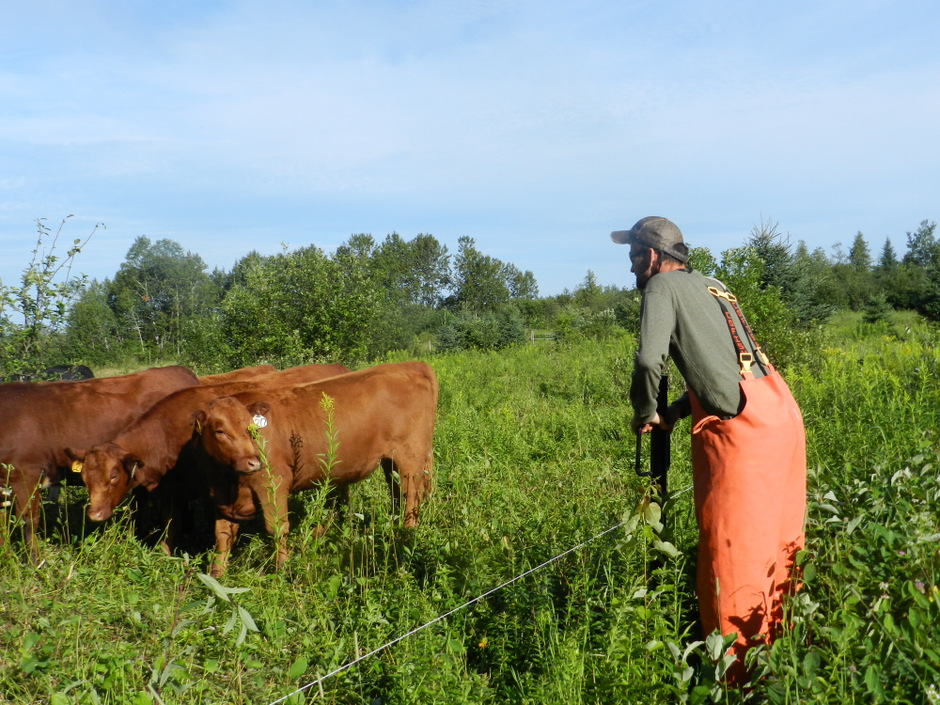
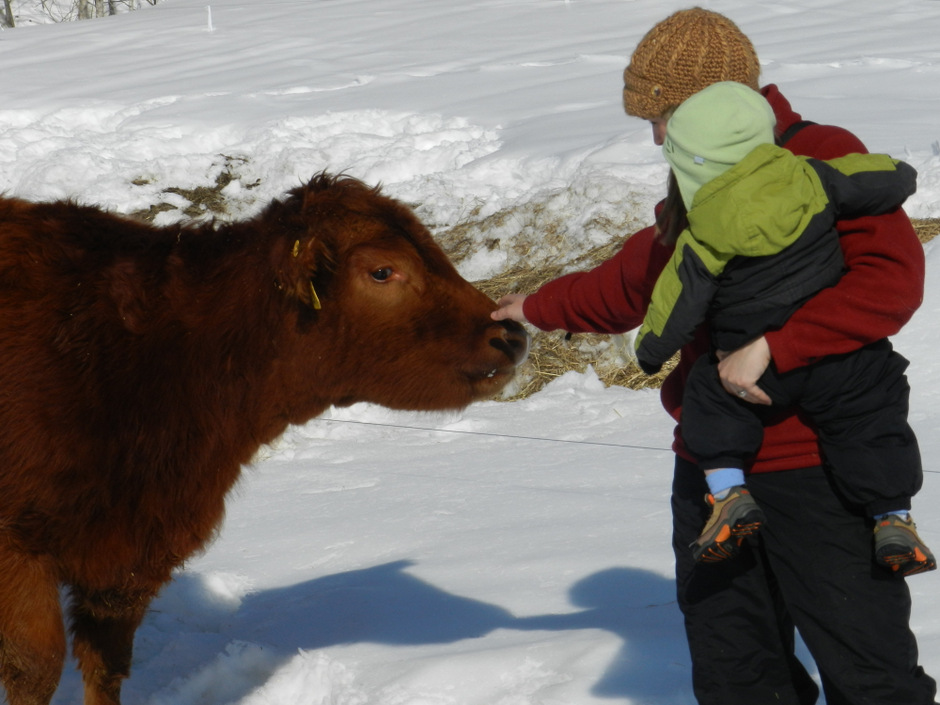
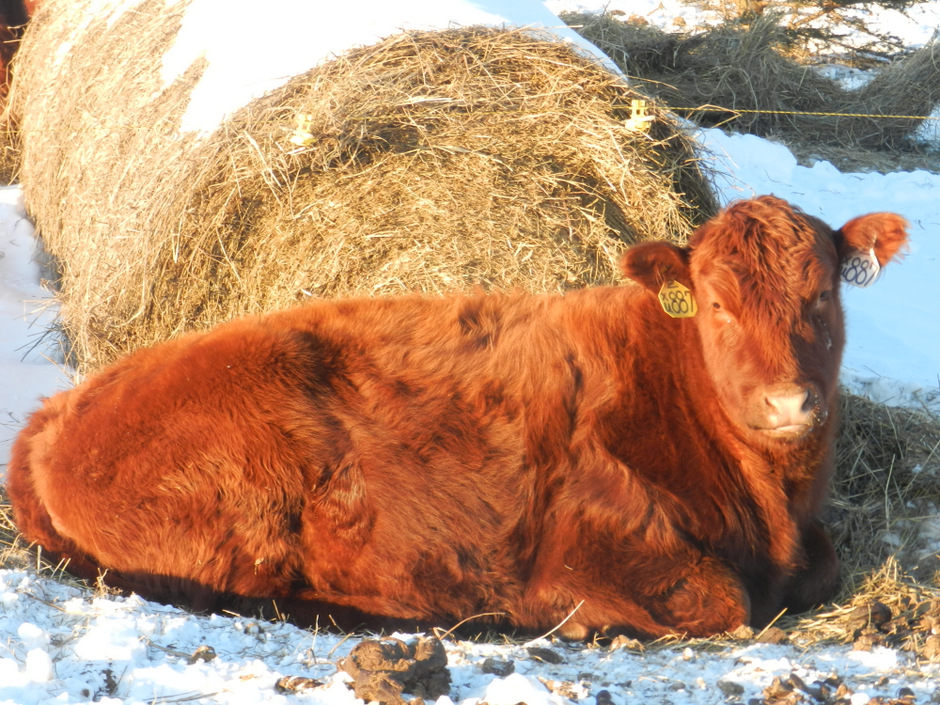
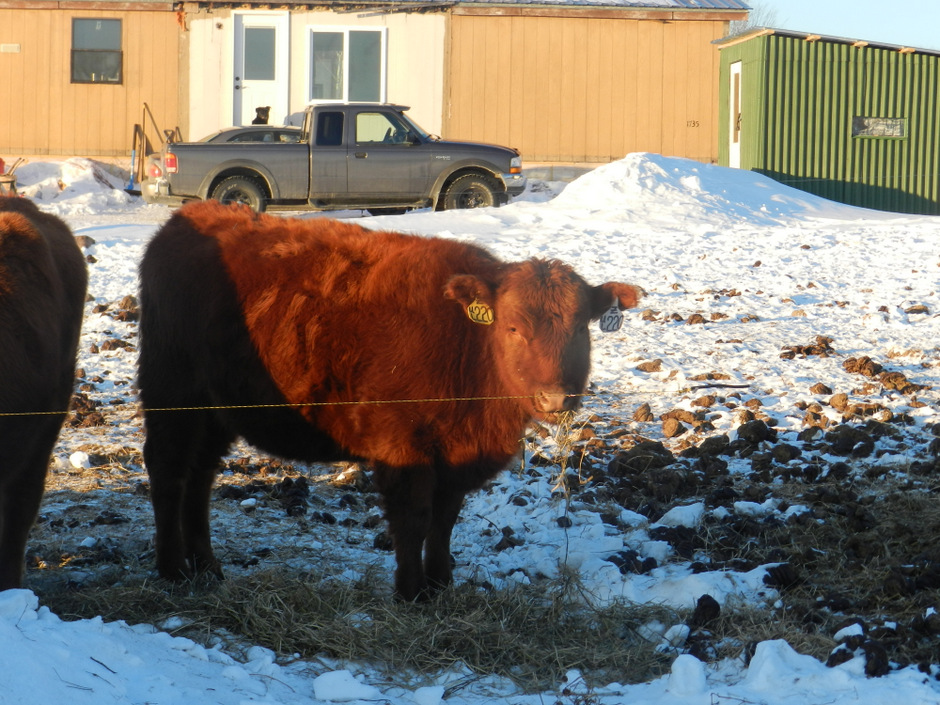
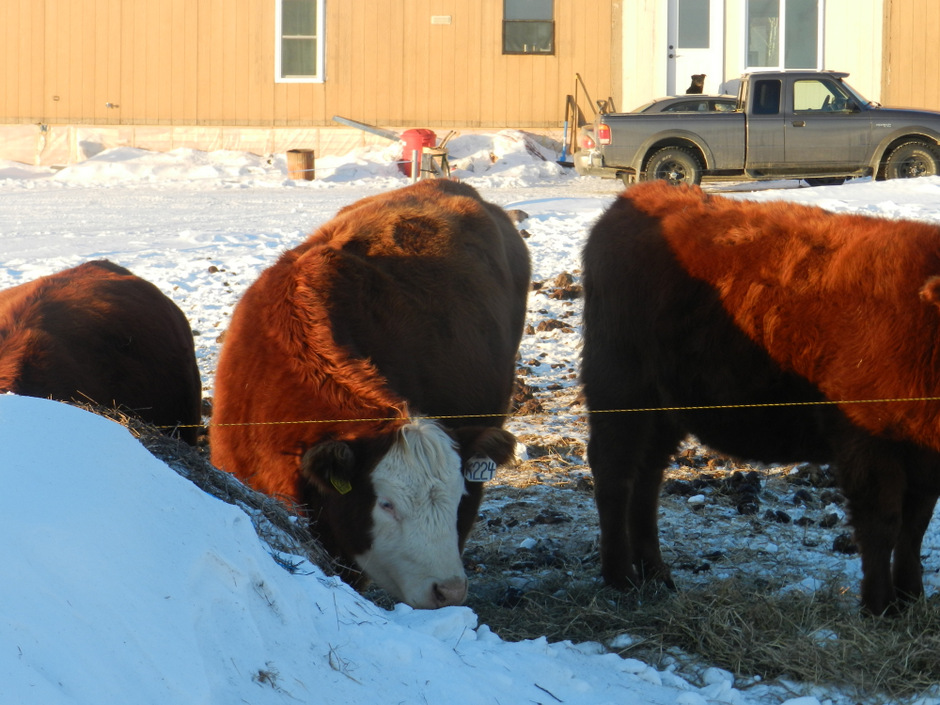
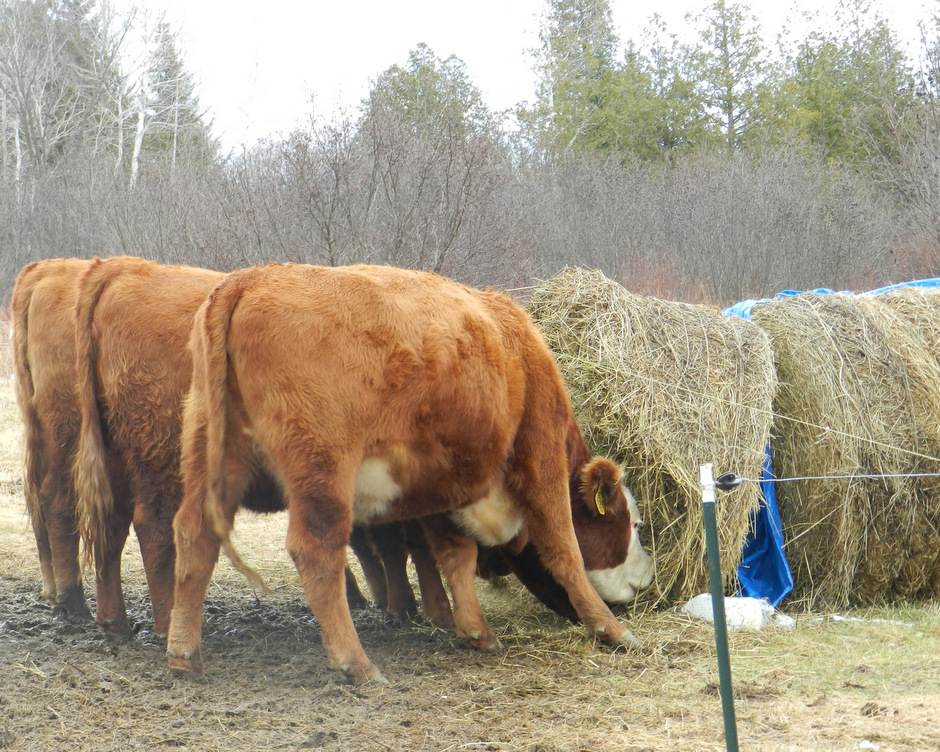
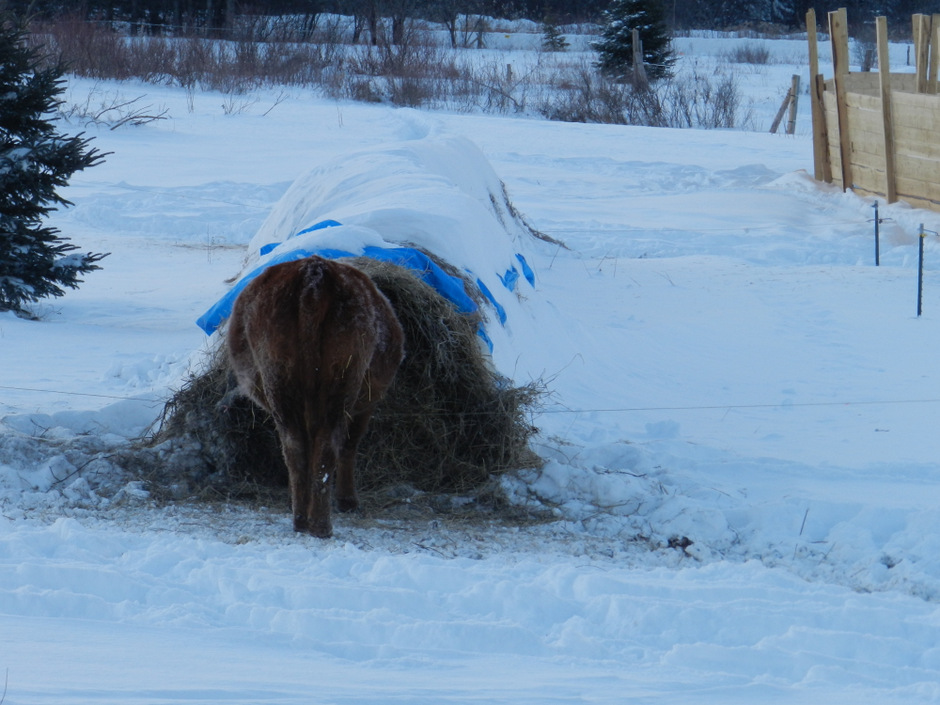
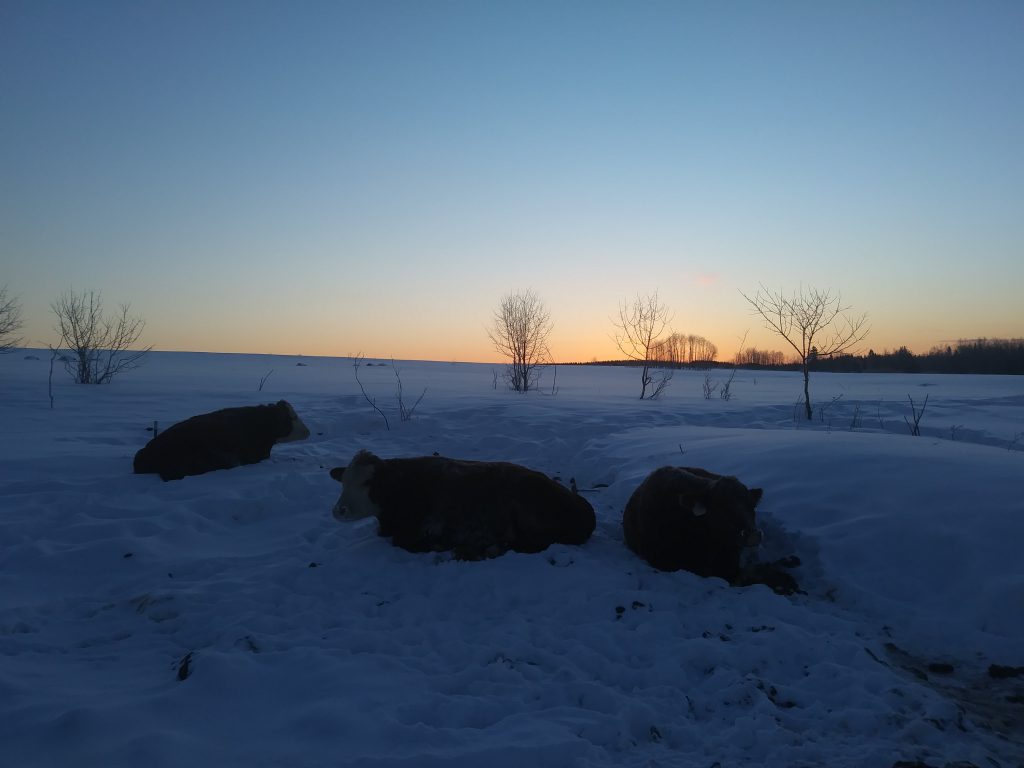
    AM Check: After putting our oldest on the bus, I make the rounds around the farm. When the weather really kicks up, like these last few days with our windstorm, Jer will take the snowmobile and zip around the farm checking everyone. On a normal day (less and less normal days this winter!), Jer is getting ready to go to his 40+ hour a week job that is separate from the farm and I do this AM check. I check the calves and the cows. As I mentioned in the previous post, we currently manage these two groups separately during the winter. During this AM check, I want to make sure everyone is alright, and then, address any damage that may have occurred overnight.

    Good morning, girls!

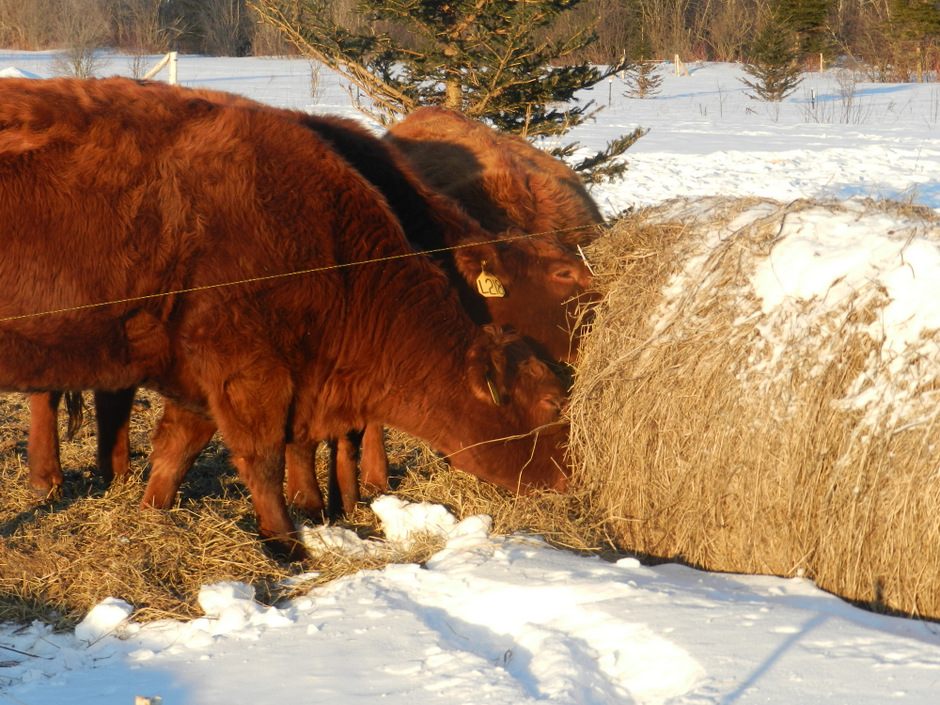
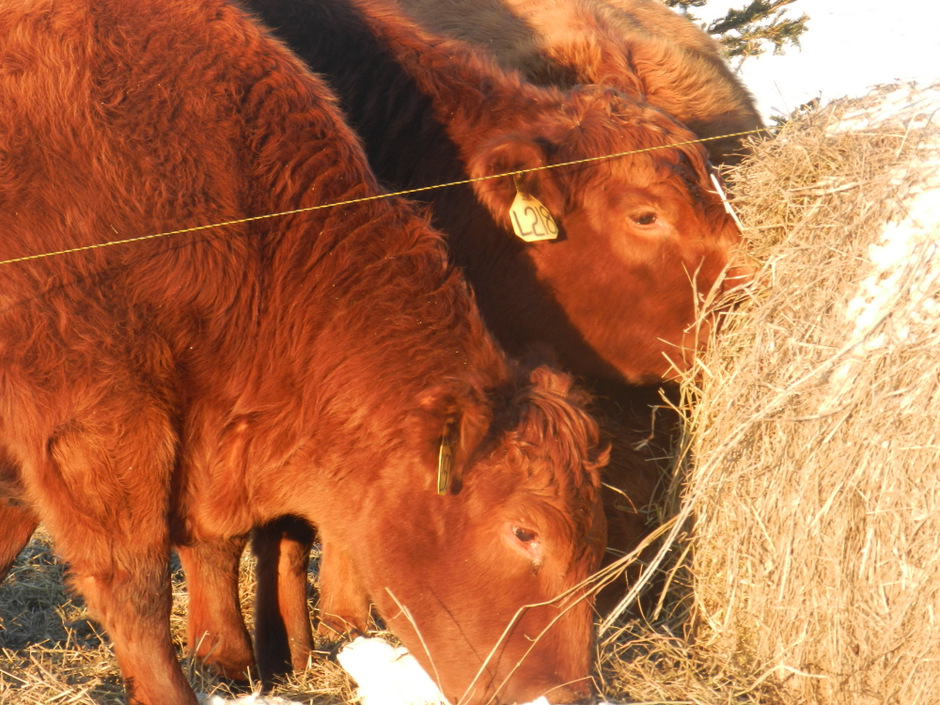
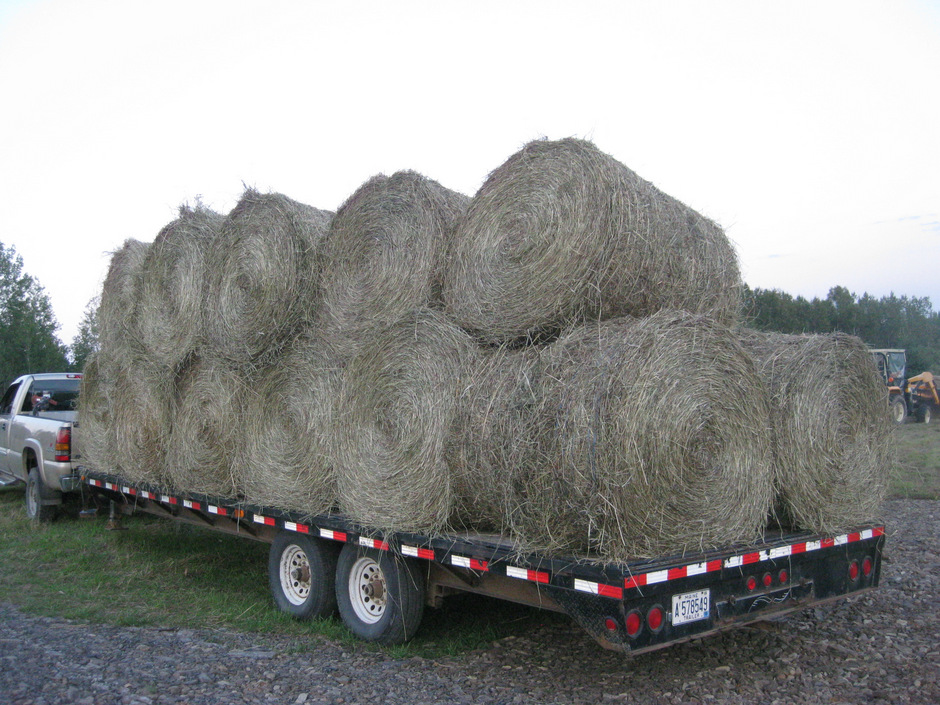
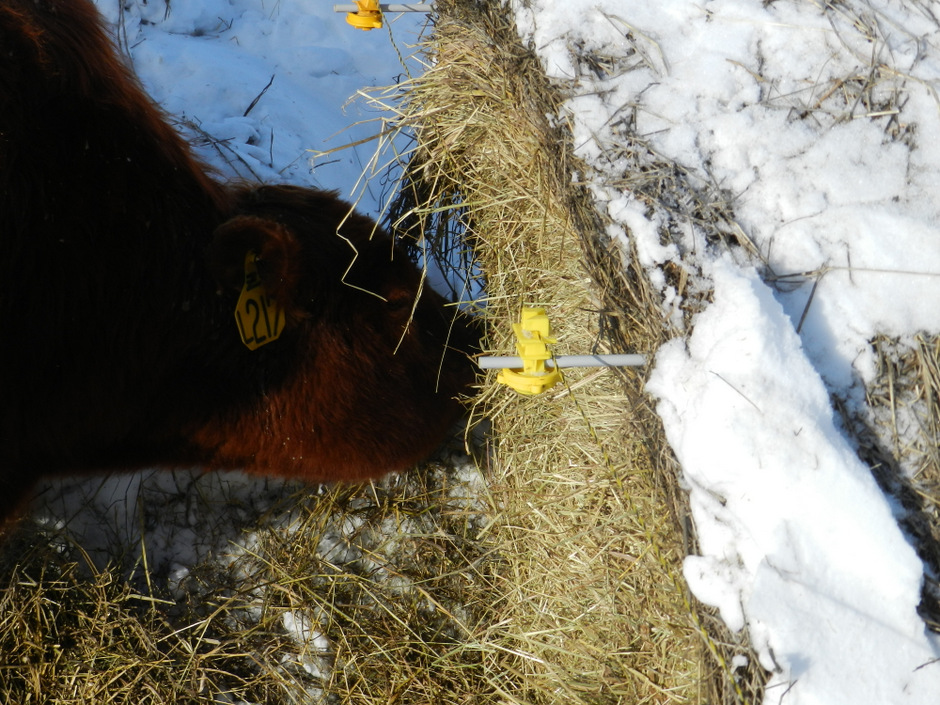
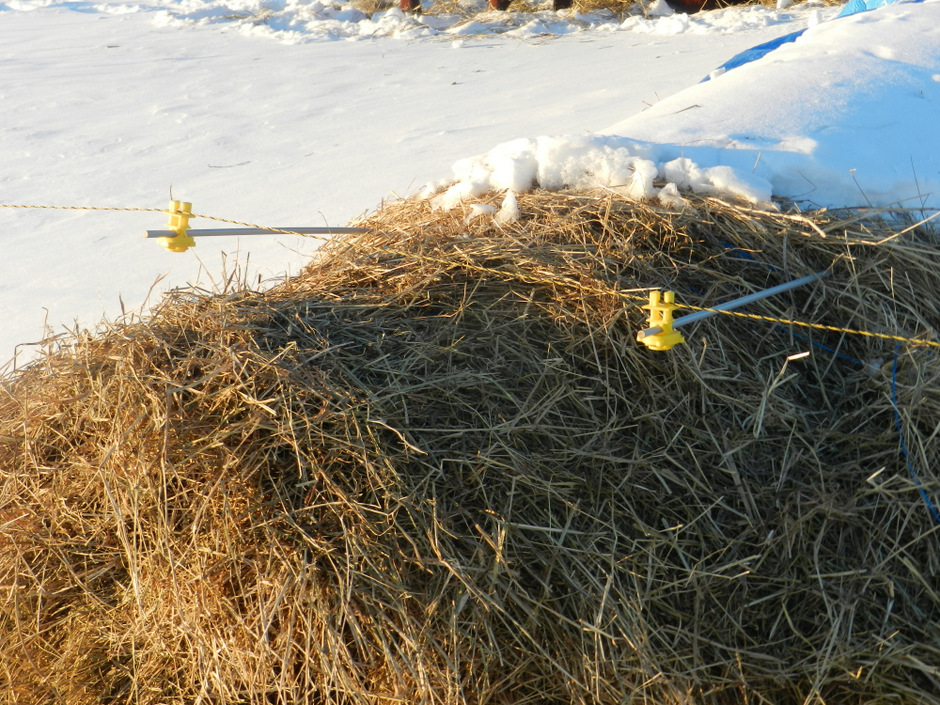
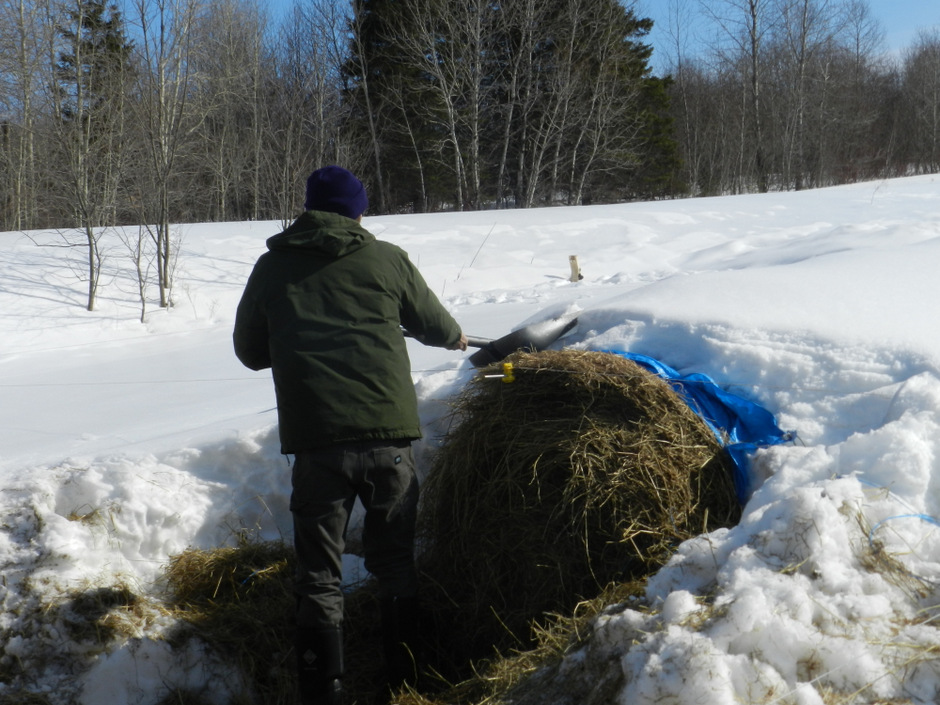
    This can range from something as simple as some insulators that popped off or as complex as wires ripped down and cattle during a dance in forbidden territory. More and more this winter, we have found ourselves also having to do some serious shoveling as well around the bales. After finishing any needed fixes and/or shoveling, I then make sure everyone has access to hay by adjusting wires and rods as needed.

    At the calves bale site, adjusting wires and rods on a hay bale that has fallen-part.

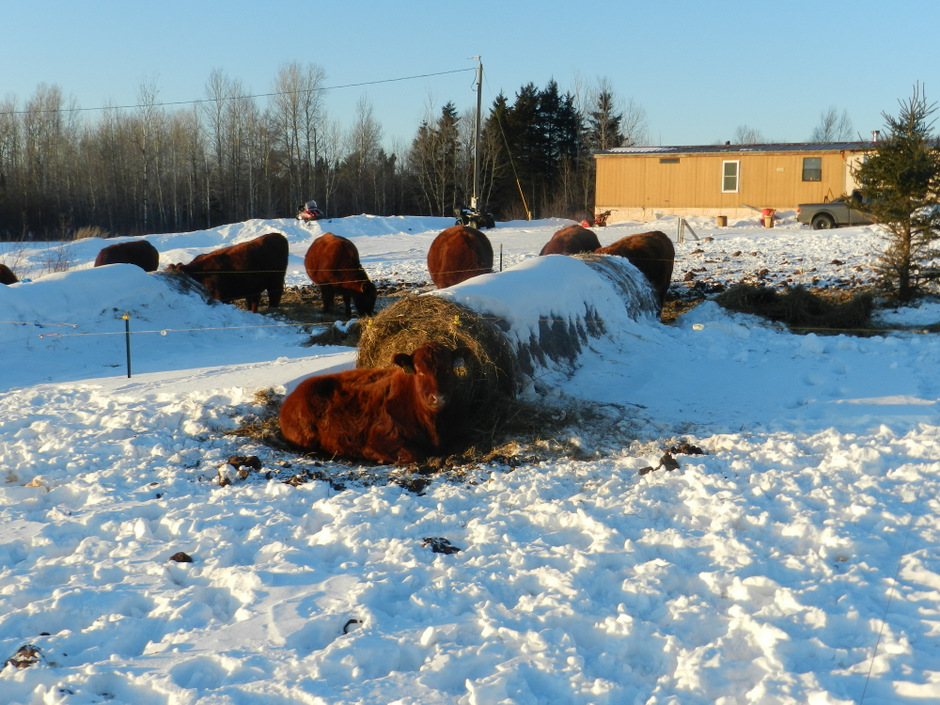
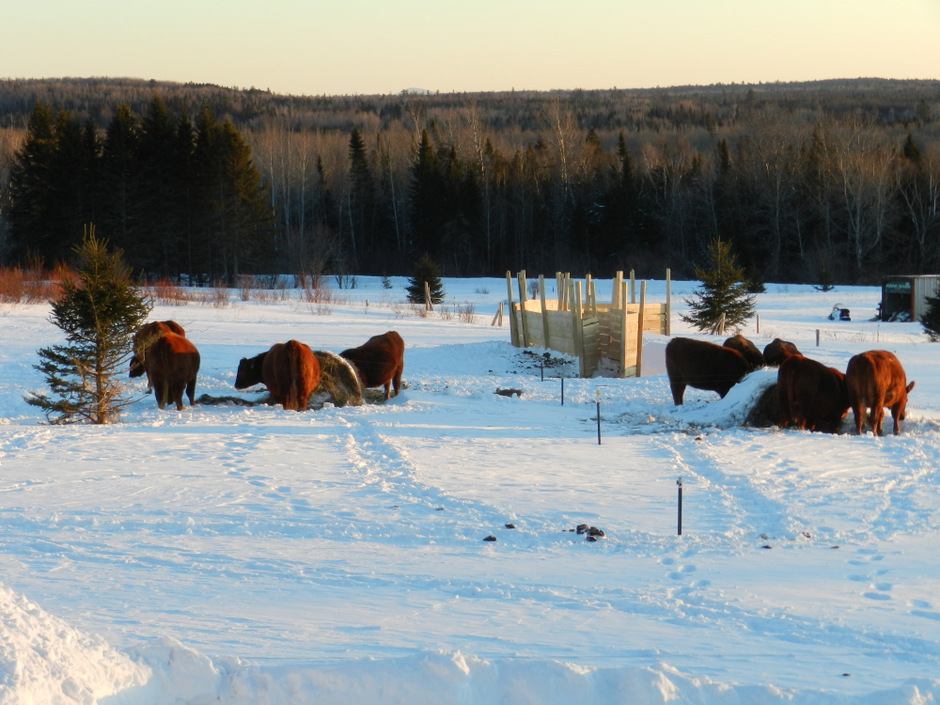
    Afternoon Check: I do my second check of the day in the afternoon, before our oldest gets home from school. I do this check while our youngest is napping. This check is more involved, as I feed out mineral for the calves and the cows, plus barley malt sprout tailings for the calves. For our 30 spring/summer 2018 calves, we feed out 8, full-5 gallon buckets worth of tailings during this afternoon check. Our tailings are stored in huge, industrial-sized totes. The totes are a little distance from the calves, so we use a sled to bring the tailings to the calves.

    Ready to haul! Sled with barley malt sprout tailings and mineral.

    We spread-out the feeding of the spouts between two large, feed bunkers. In addition to supplying mineral and tailings, the same check-list from the AM check applies for the afternoon check as well.

    The teenagers – as our eldest likes to call them – waiting for their sprouts!

    1 of 2 feed bunkers for the calves.
    Good afternoon!

    After finishing the afternoon check, I usually have just enough time to store the sled and mineral containers away and then it is down to the bus stop to meet the school bus.

    A little sidenote: My daily uniform this winter has been my insulated Carhartt bid overalls, 2 winter coats, neck and face cover, hat, multiple pairs of gloves, and my Mucks. I finally broke-down this winter and invested in some good quality insulated Carhartt bid overalls. I had been putting it off for 5 winters, using a combination of ski pants/rain pants/any pants. Well, this winter broke me and by December 1st, a month after winter came rip-roaring in, I was rocking in my new overalls and much warmer! Having the right equipment is crucial to running a farm and the right equipment applies just as much to your clothing and choice of shoes, as it does to your choice of tractor or squeeze chute. Here on the farm, we are all about thrift store and second-hand shopping. We relish and anticipate for months prior to the next farm equipment auction. We are all about saving money, buying something still in good condition, but used. But, the thrift-store train stops when it comes to outfitting ourselves and our children for these brutal Maine winters. We need gear that is going to keep us warm, dry and free from hypothermia ideally! We invest in good wool socks, insulated jackets and overalls, and boots! Mittens, gloves, neck and face covers, and hats galore! You open our front door and you will be greeted by a mountain-filled, over-flowing chest of winter gear. It really does take over the house. As much as I love my overalls, I will be more than ready to hang them up for the season! I know that Jer and the kids feel the same way.

    Stay tuned for my next post on calculating winter hay bale/feed needs for your cattle herd!

    Stay safe and take care!

  • Winter Hay Bale Grazing: Part 4 of 4

    086We round out our blog series on winter hay bale grazing with lessons learned and thoughts for next winter.

    See the links below for earlier parts in the series:

    Winter Hay Bale Grazing Part 1 of 4

    Winter Hay Bale Grazing Part 2 of 4

    Winter Hay Bale Grazing Part 3 of 4

    Lessons Learned

    This was our first winter implementing hay bale grazing.  We were pleasantly surprised at how well our animal’s adapted to this innovative form of winter feeding.   We worked for our animals and they worked for us.  We did not escape this experiment without making a few mistakes, though.  Below, you will find a list of some lessons we learned as well as our ideas and thoughts for our next season of winter hay bale grazing.

    1. Where did the fence/wire go?!

    070
    Wire and posts buried in the snow.

    We made our fences 3 feet tall in anticipation of the snowfall expected for a northern Maine winter.  We were hit with a hard winter, though, with snowfall doubling what we expected.

    Consequently, we have spent a lot of time digging fences and wire out of the snow.  Luckily, our cows have been relatively well-behaved and have not capitalized too much on our beginner’s mistake.


    Next year, we will modify our fences and raise them another foot or so.  Deciding how tall to make your fences will depend on what kind of winter conditions are typical for your area.  Once you have decided what height to make your fences, we recommend that you up that height another foot or so.  Just to be safe!

    2. Get out of there, cow!

    There have been a few times that we have looked out our window or have been walking towards the hay bales and noticed that something looked a bit off.  We look a little closer and sure enough, a cow has found herself inside the fence around the hay bale row and she is greedily munching away on a brand new hay bale – all to her herself.


    014
    Note the placement of the wire.
    Any lower and that cow will be stepping right over.

    The mistake here was a simple one but we didn’t realize the potential for it until it actually happened:  don’t place the poly wire too low on the hay bale OR too high!  This concern, though, became obsolete as we delved deeper into winter and the snowfall and ice accumulation prevented such an escape.  For those beginning months of winter, though, we learned that we needed to be very careful of wire placement as to prevent a cow from stepping over it.


    3.  Do You Trust Us?

    This probably falls more into the category of advice and tips but could easily turn into a  lesson learned.  To make winter hay-bale grazing work, you have to develop some level of trust with your herd.  To provide some quick background, we purchased our first herd of beef cattle – 10 red angus heifers – in late-June of 2013.  From the day they arrived at our farm, we make it a top priority to integrate ourselves within the herd in hopes of gaining a bit of their trust.  We went about this in many ways.  Most simply, we would go into the pasture and walk around the animals, talking softly and observing their behavior.  We started to see the herd dynamic and the individual personalities of each animal.  A herd leader became quite obvious from early on.  We observed a definite pecking order.  In return, the animals got very used to our presence.

    209
    Working on fence.

    They were starting to get more comfortable around us.  They got used to us talking to them.  They got used to us working on fences, water troughs, water pipelines and so on in their pasture.  They started to anticipate their daily ration of mineral.    After much work and repetition, we got the herd to follow us as we rotated them through pastures every 2-3 days. They were learning to trust us.


    For our effort and time during that summer and fall, we are rewarded daily with our winter hay-bale grazing.   When the time comes to switch to a new hay-bale grazing location, they follow us.  They stand back and patiently watch us while we adjust wires, shovel snow, cut out hay, and remove tarps.

    473


    They don’t let us give them body massages (well, one of them does) but they have come a long ways from their first day on the farm, where you couldn’t get within 10 feet of them and they were off and running.


    The trust building will continue this spring as our cows calve and into the summer as they are bred-back and rotated from pasture to pasture.   If you work with your herd a little bit each day and keep your patience and a good attitude, you will be amazed at the result.

    4.  How many hay bales have they eaten?!

    While we made every effort to keep track of the date that each hay bale was finished and the next one started, we did start to lose ground when we transitioned to our 2nd hay bale grazing location.    The level of snow and ice – on top and surrounding our hay bale rows – was massive and we started to have trouble recognizing the end of one bale and the start of another.   The reason why we wanted to keep track of each hay bale was so we could calculate and monitor the pounds of hay eaten per day/per animal.  We were able to keep up with the count in our 1st grazing location, and we got a really good idea of the lbs/day/animal of hay consumed.

    In order to calculate the consumption rate during the entire winter, we have a few ideas for improving our ability to count bales for next winter.  One idea is for us to mark the beginning of each hay bale with a distinctive marker, prior to snowfall.  One idea we have thrown around is to attach a length of fluorescent pink or orange flagging tape to the top, center of each bale.  We could do this at the same time we are attaching our tarps.

    5.  Orientation of hay bales

    Be sure to study your land before choosing locations to place your bales.  One of our bale locations was a place where snow tends to accumulate in deep drifts…..but we didn’t know that until this winter.  Next year we’ll avoid this spot for late winter bale grazing.  Also pay attention to the way the bales are oriented with the prevailing wind.  Our bale stacks that were oriented parallel to the northwest wind tended to have snow blown clear around them and made for easier grazing.

    083This concludes our blog series on Winter Hay Bale Grazing.  We hope that this series proves useful to you as you weigh your options for feeding your cattle next winter.  This was our first winter with hay bale grazing, and we do plan to implement this form of feeding next winter as well.  We have found this form of winter feeding to be cost-effective and extremely manageable for the scope of our operation.


    With one season under our belt, we will be approaching next winter better equipped and a bit more knowledgeable on what we want to do and what we do not want to do.  Surprises always abound, though, when working with livestock!

    So, we tell ourselves to: Keep your patience.  Stay creative and innovative.  Improvise when needed.  Stay calm.  Respect your animals.  And, most importantly, have fun!!

    We always love to hear feedback and suggestions on new, innovative techniques and methods in the beef cattle industry.

    Thank you for joining us.

    We will leave you with a few more pictures to enjoy!

    092081 085 093 094 091

  • Winter Hay Bale Grazing: Part 2 of 4

    124
    Winter hay bale grazing. Note the two rows of bales,
    with four feeding points and a fence separating the two rows.

    This is the second in a four part series we put together based on our first winter of bale grazing.  If you haven’t tried this method of hay feeding yet, read on to learn if it may be right for you. 

    Click here to read Winter Hay Bale Grazing Part 1.


    The concept of winter hay bale grazing is quite simple.  The idea is to have an established area (or areas) where your hay bales will be located.  Your animals will then come to this area and “graze” on the hay bales.  This area needs to be on relatively flat and dry terrain with relatively easy access for your animals.  The grazing of the bales will happen progressively, with you providing access to a limited number and part of the hay bales each day until ALL the hay bales in that location have been eaten.  Our strategy was to establish two rows of hay bales in three locations on our property.  You can establish as many rows as you like, depending on your herd size and the amount of land you have available.

    The very first step you need to take in implementing this grazing program is to obtain round hay-bales, which you can purchase or if you have the equipment and the land, make yourself.  We purchased our hay from a local farmer, and we were fortunate that he had had the means to deliver it to our property.

    207
    One of four trailer loads of round hay bales.

    Once on our property, he was able to drive his hay trailer to each of our three hay bale grazing locations.

    211


    At that point, we did use a tractor.  A family member was generous in letting us borrow his little tractor.  We weren’t sure if the tractor would work due to its small size but we made it work with the use of a hay bale spike that we purchased.

    242


    All the hay bales were unloaded and strategically placed in two rows in each of our three locations. (Again, you can have as many rows and locations as appropriate for your operation).

    200
    Positioning bales

    244
    Positioning bales


    Each bale was  placed on its side, flush with the next bale in the row.

    241
    Close-up of hay bale row.

    235


    After our hay bales were positioned, we then had to think of ways to protect the hay bales from the elements.


    Protecting the quality of the hay and the integrity of each hay bale prior to the actual start of hay-bale grazing AND during the hay-bale grazing season was a concern and top priority for us.  Our bales were delivered quite a few months before we implemented hay-bale grazing and therefore, were vulnerable to the elements. (eg., rain, wind and eventually, snow and ice).


    282Continuing with our theme of creative and cost-effective methods, we purchased as many cheap tarps as were available at our local salvage store and set to work on covering as many of our 100+ bales of hay that we could.  We used string and twine to tie down the tarps.   To help further secure and hold-down our tarps (from the impacts of wind), we also filled empty milk jugs with water and tied them to the base of many of our tarps throughout each row.

    The weeks leading up to the start of our hay-bale grazing were kept busy, prepping each grazing location.  Our primary task was building fences and running wire.  We built fences around the hay bale rows in each of our three locations.  As you can see in the diagram below, we separately fenced each row of hay bales, with 14-gauge high tensile electric wire and metal t-posts, with t-post insulators.  Next, using fiberglass rods, equipped with rod post insulators, we attached polywire across the face of each hay bale (see diagram).  Each end of the poly wire was attached to the high-tensile electric wire with a gate handle.  The high-tensile wire tied into our existing fencing system and electrified the hay bale wires.  We used polywire in-line tensioners to keep the wires taut.

    Haybalediagram

    Each grazing location provides access to four hay bales at one time, as shown in the above diagram.  The concept of this grazing strategy is that the animals will graze at each end of a row, progressively making their way towards the middle of the row until all the hay bales have been eaten.

    119


    Cows are given access to each hay bale with the combination of the aforementioned rods, insulators and polywire.

    121Twice-daily we check each bale and make necessary adjustments to the placement of the wire.088


    This involves simply removing the fiberglass rods (wire still attached with insulator) and reinserting them into the section of bale we want the cows to have access to.

    018


    For example, if we want the cows to clean-up hay at the bottom of the bale, we would move the wire towards the top of the bale, careful not to place the wire too high as to allow the cows to step under it.

    014


    If we want the cows to tackle the top part of the bale, we would move the wire further down the bale, being careful, though, not to place the wire too low, as to allow the cows to step over it.


    In addition to checking and adjusting the height of the wire, we also ensure the wire’s tension with the use of wire tensioiners.

    480
    Shoveling snow

    Day-to-day maintenance on the hay bales also involves cutting string and removing tarps, cutting out frozen and/or moldy hay, and shoveling snow from the tops and sides of the bale and away from the wires as needed.  At times, we will find that an insulator has popped off the rod so we will screw the insulator back on the rod and re-run the wire through it.

    In addition to the physical aspect of maintaining and monitoring our hay bale grazing, we also keep written and computer records.  Using graphing paper, we sketched a diagram of each of our 3 hay bale grazing locations.  We included the start date for that location, as well as the start and end date for the individual bales.  We also maintained an Excel spreadsheet documenting the start and end dates for each hay bale and an area for us to record comments and observations.

    Click here for supplies needed and lessons learned on winter hay bale grazing in Part 3 of this series.