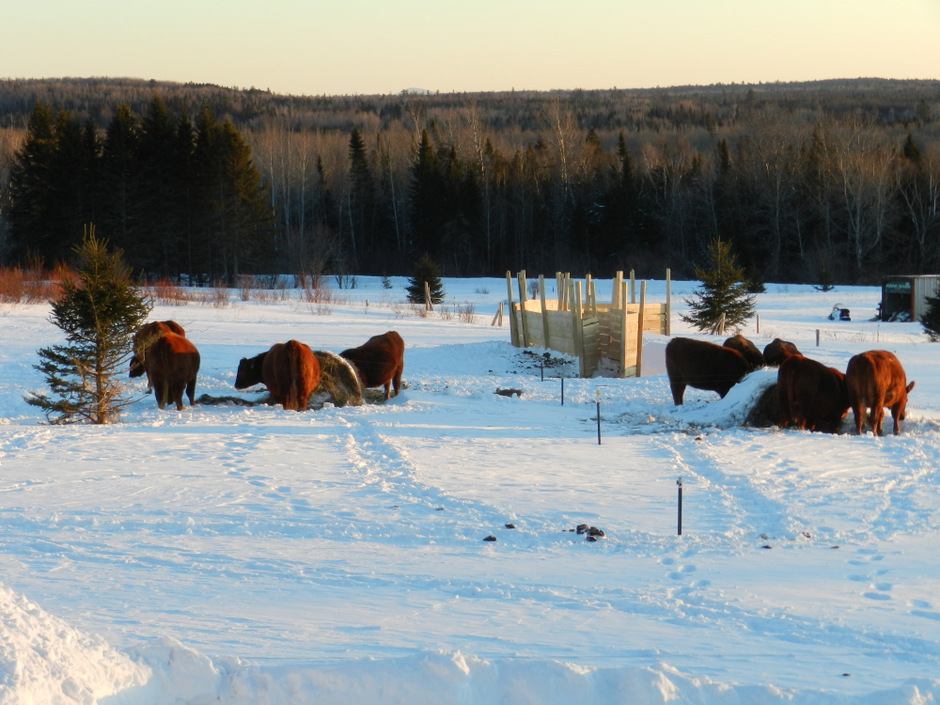
with four feeding points and a fence separating the two rows.
This is the second in a four part series we put together based on our first winter of bale grazing. If you haven’t tried this method of hay feeding yet, read on to learn if it may be right for you.
Click here to read Winter Hay Bale Grazing Part 1.
The concept of winter hay bale grazing is quite simple. The idea is to have an established area (or areas) where your hay bales will be located. Your animals will then come to this area and “graze” on the hay bales. This area needs to be on relatively flat and dry terrain with relatively easy access for your animals. The grazing of the bales will happen progressively, with you providing access to a limited number and part of the hay bales each day until ALL the hay bales in that location have been eaten. Our strategy was to establish two rows of hay bales in three locations on our property. You can establish as many rows as you like, depending on your herd size and the amount of land you have available.
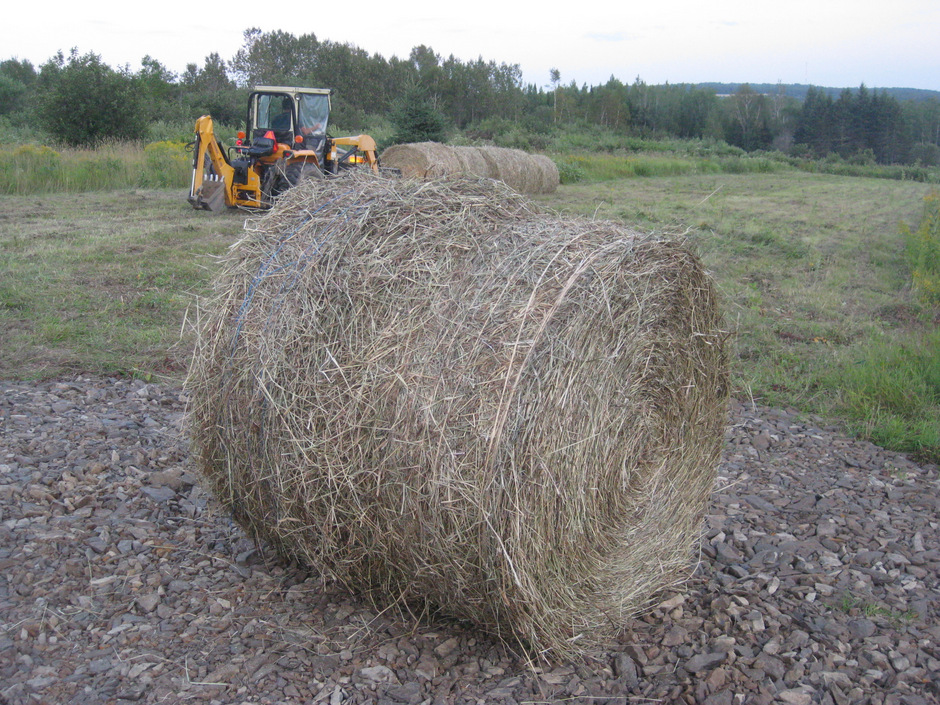
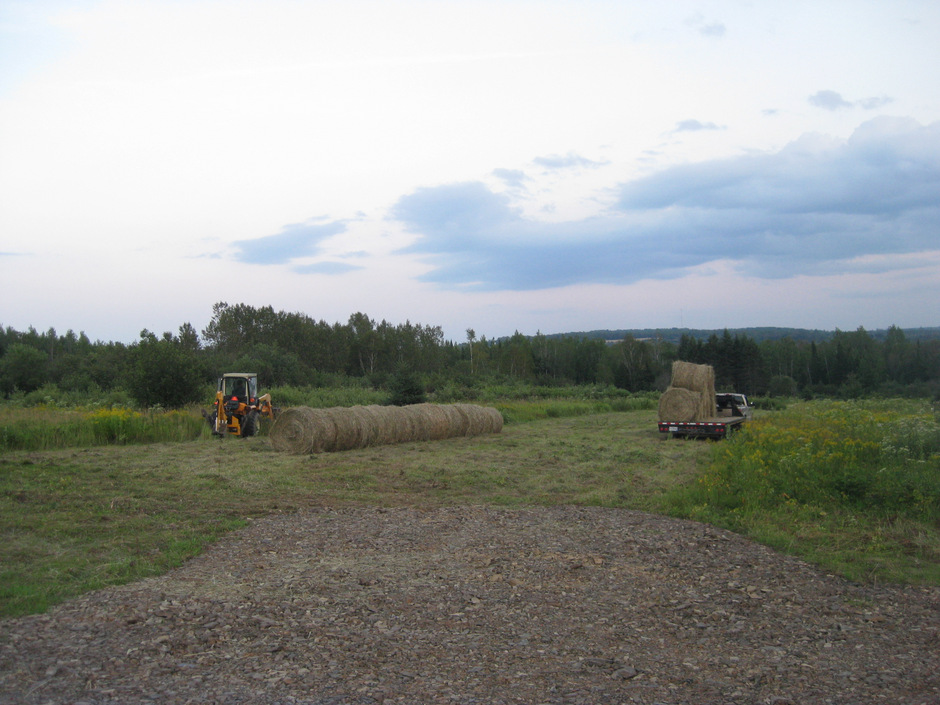
The very first step you need to take in implementing this grazing program is to obtain round hay-bales, which you can purchase or if you have the equipment and the land, make yourself. We purchased our hay from a local farmer, and we were fortunate that he had had the means to deliver it to our property.
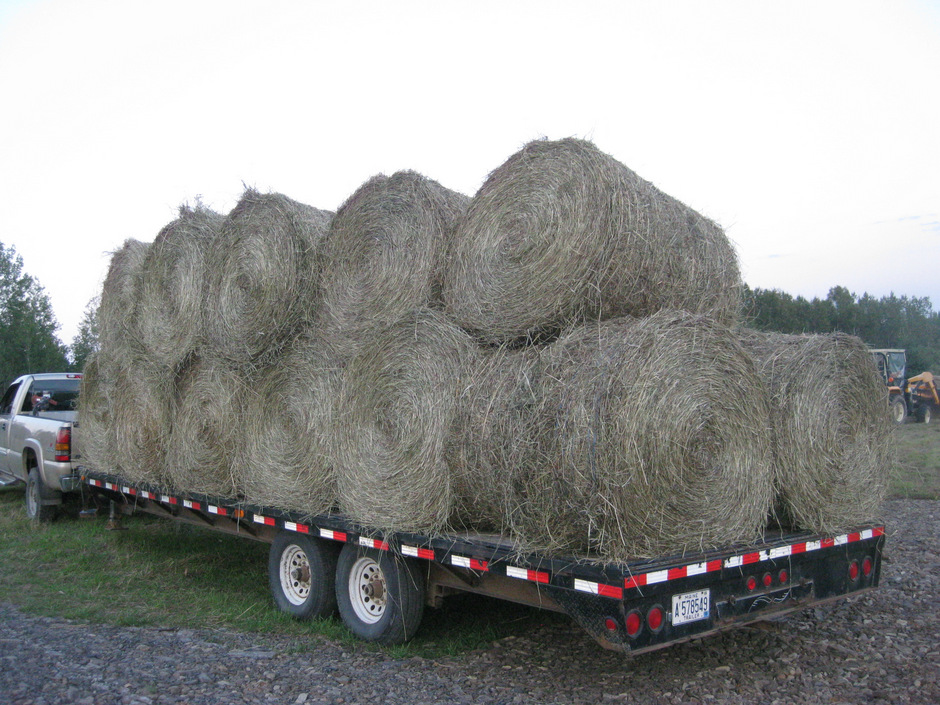
Once on our property, he was able to drive his hay trailer to each of our three hay bale grazing locations.
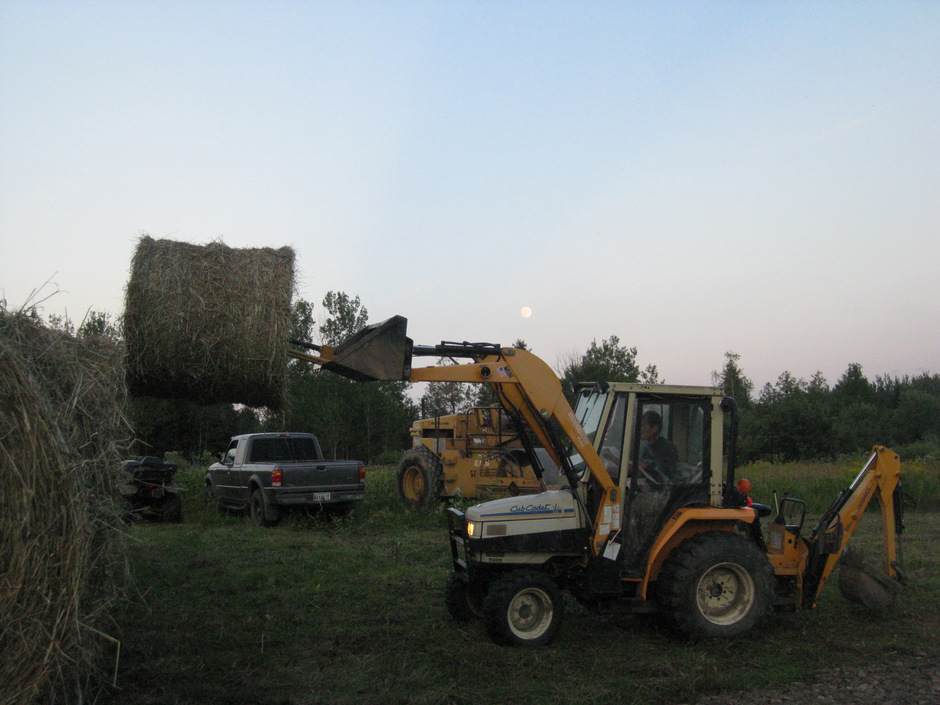
At that point, we did use a tractor. A family member was generous in letting us borrow his little tractor. We weren’t sure if the tractor would work due to its small size but we made it work with the use of a hay bale spike that we purchased.
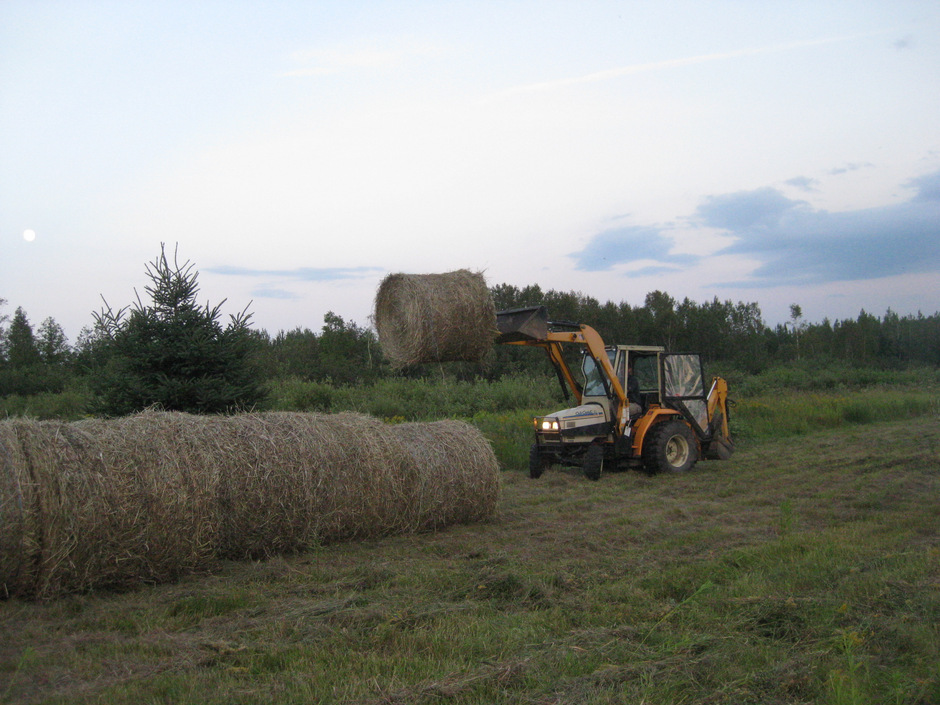
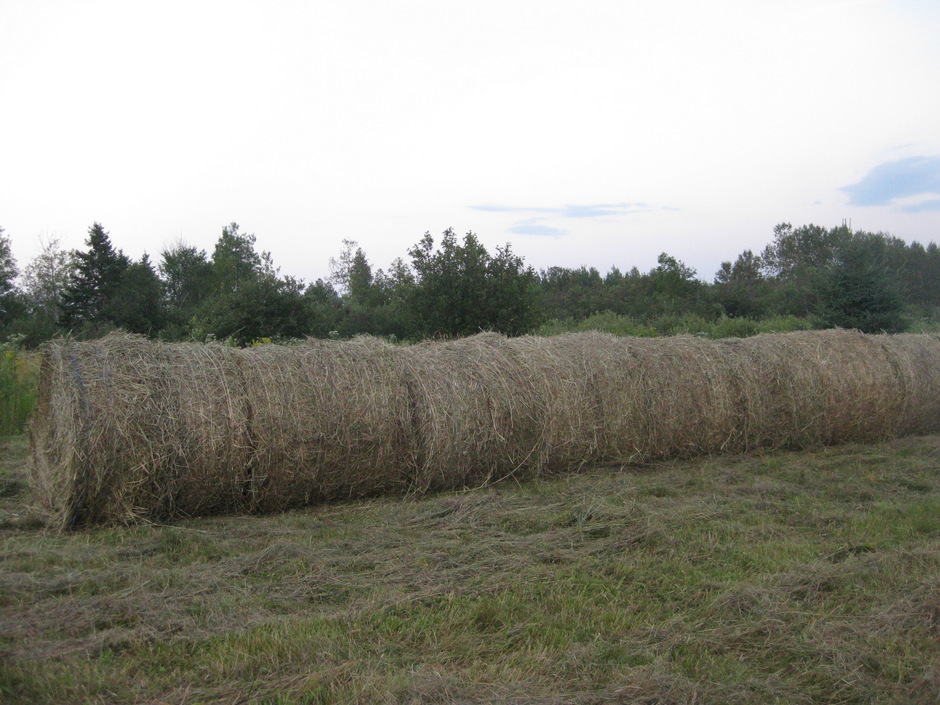
All the hay bales were unloaded and strategically placed in two rows in each of our three locations. (Again, you can have as many rows and locations as appropriate for your operation).
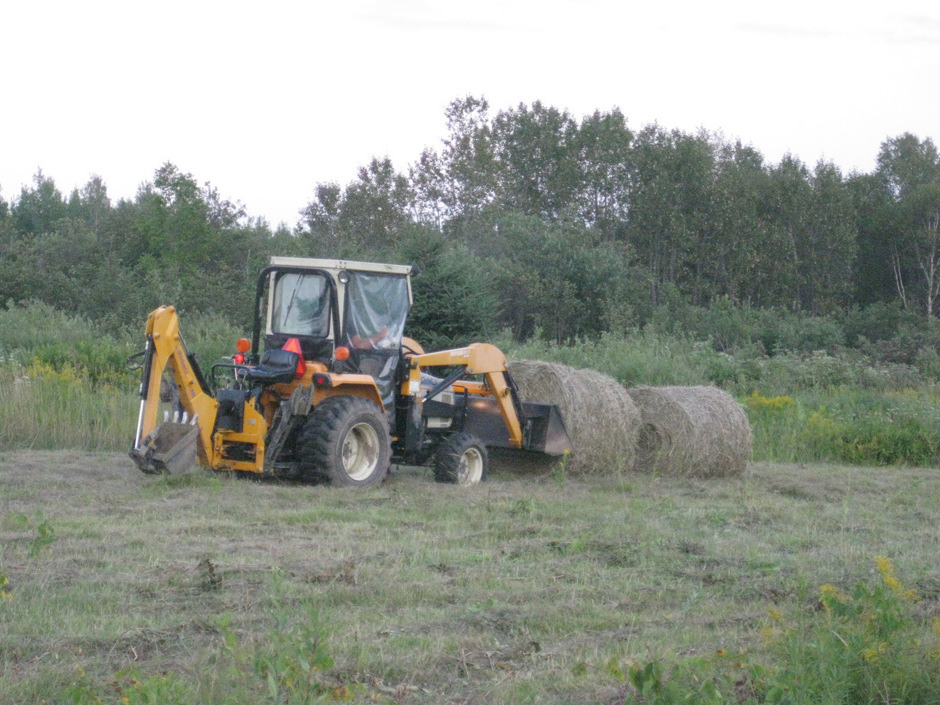
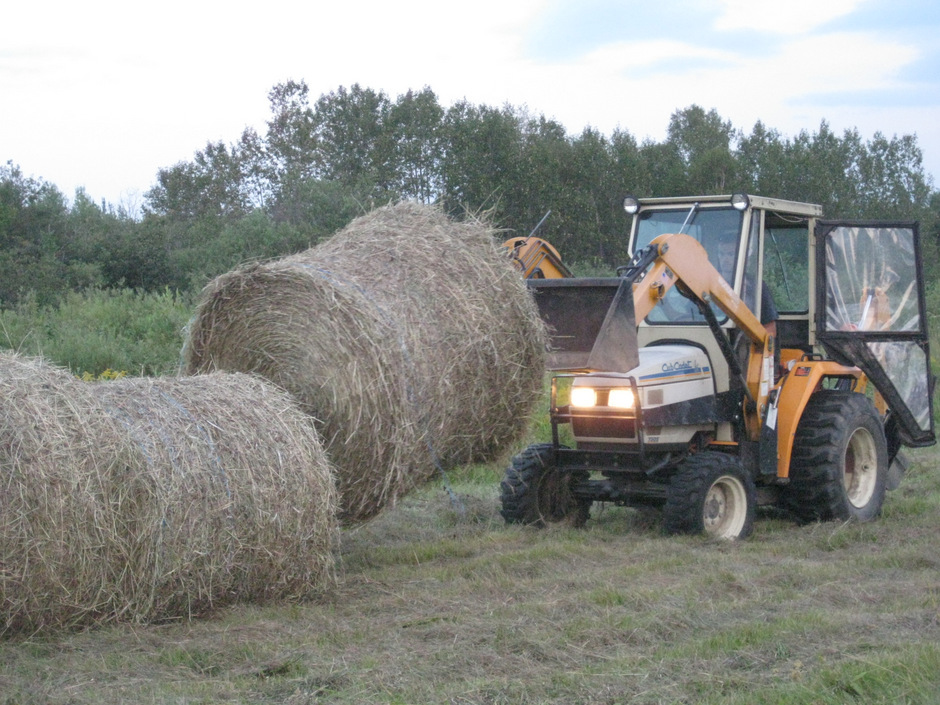
Each bale was placed on its side, flush with the next bale in the row.
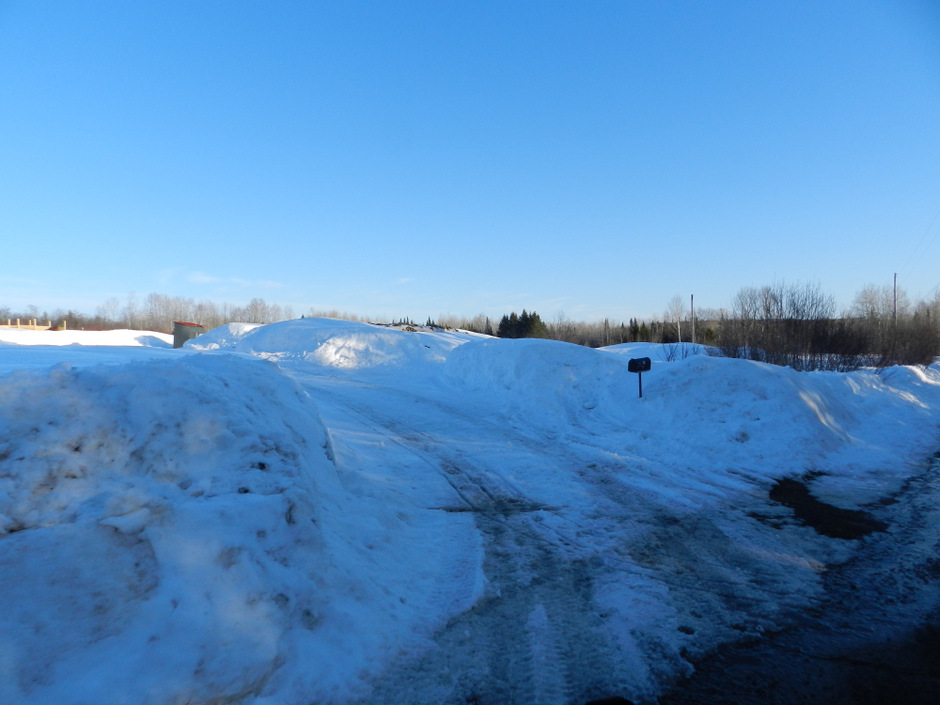
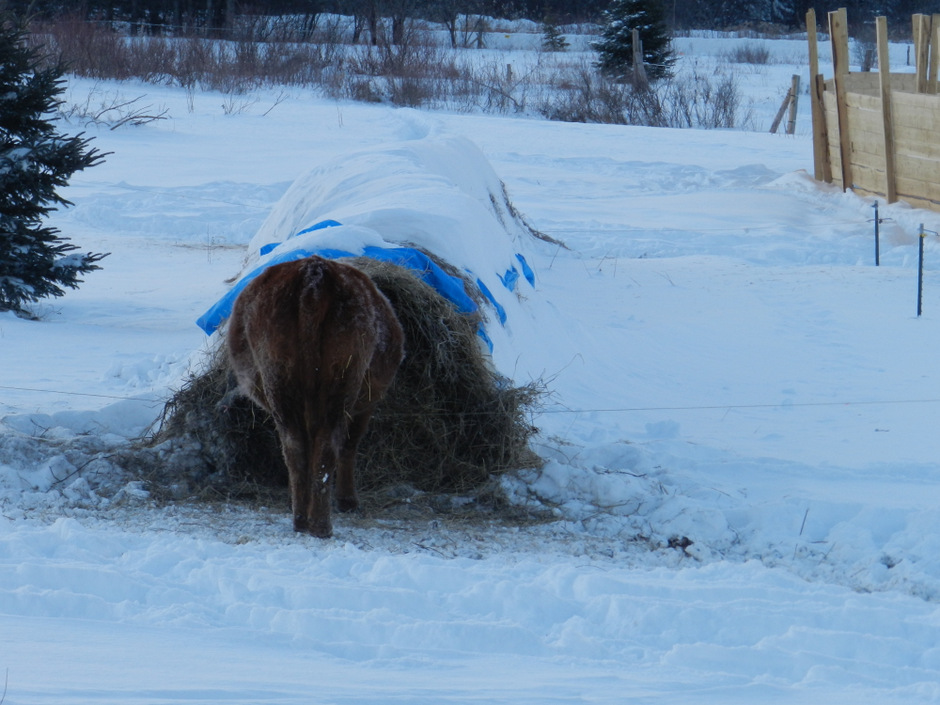
After our hay bales were positioned, we then had to think of ways to protect the hay bales from the elements.
Protecting the quality of the hay and the integrity of each hay bale prior to the actual start of hay-bale grazing AND during the hay-bale grazing season was a concern and top priority for us. Our bales were delivered quite a few months before we implemented hay-bale grazing and therefore, were vulnerable to the elements. (eg., rain, wind and eventually, snow and ice).
 Continuing with our theme of creative and cost-effective methods, we purchased as many cheap tarps as were available at our local salvage store and set to work on covering as many of our 100+ bales of hay that we could. We used string and twine to tie down the tarps. To help further secure and hold-down our tarps (from the impacts of wind), we also filled empty milk jugs with water and tied them to the base of many of our tarps throughout each row.
The weeks leading up to the start of our hay-bale grazing were kept busy, prepping each grazing location. Our primary task was building fences and running wire. We built fences around the hay bale rows in each of our three locations. As you can see in the diagram below, we separately fenced each row of hay bales, with 14-gauge high tensile electric wire and metal t-posts, with t-post insulators. Next, using fiberglass rods, equipped with rod post insulators, we attached polywire across the face of each hay bale (see diagram). Each end of the poly wire was attached to the high-tensile electric wire with a gate handle. The high-tensile wire tied into our existing fencing system and electrified the hay bale wires. We used polywire in-line tensioners to keep the wires taut.

Each grazing location provides access to four hay bales at one time, as shown in the above diagram. The concept of this grazing strategy is that the animals will graze at each end of a row, progressively making their way towards the middle of the row until all the hay bales have been eaten.
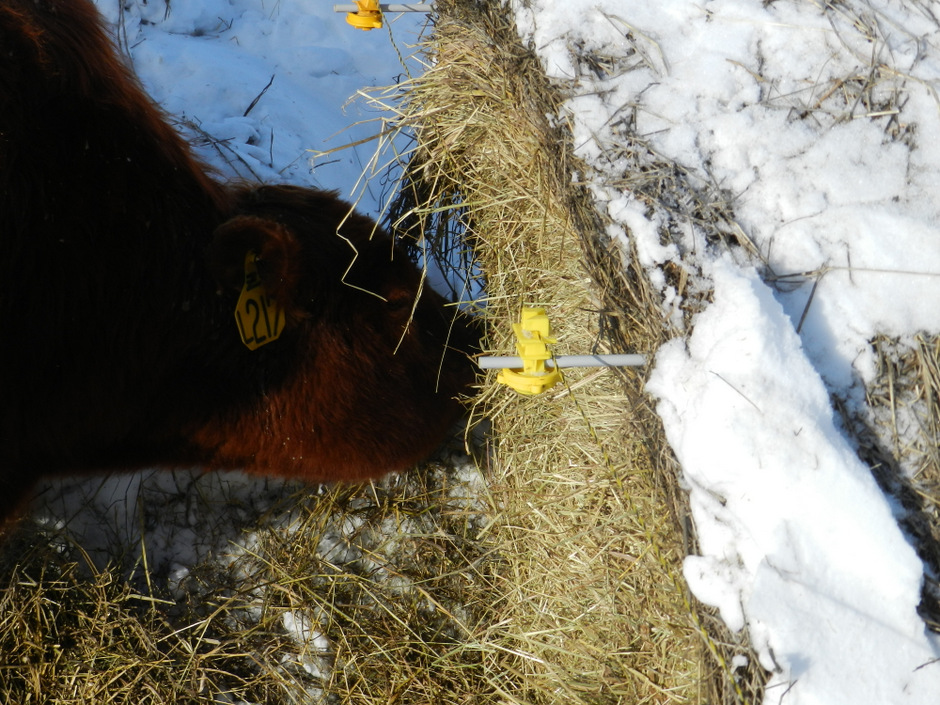
Cows are given access to each hay bale with the combination of the aforementioned rods, insulators and polywire.
 Twice-daily we check each bale and make necessary adjustments to the placement of the wire.
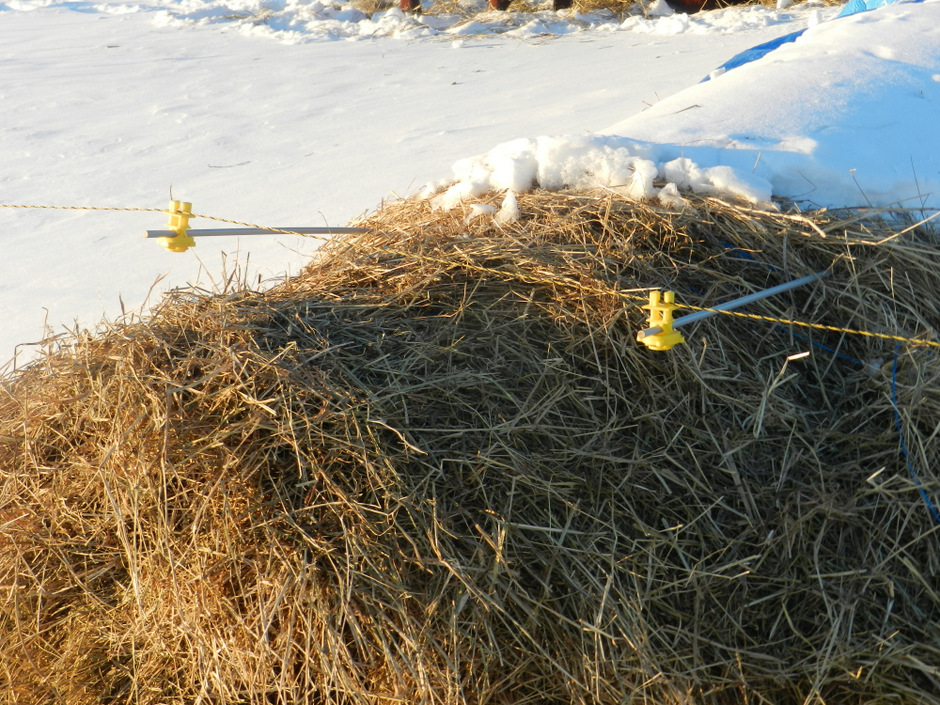
This involves simply removing the fiberglass rods (wire still attached with insulator) and reinserting them into the section of bale we want the cows to have access to.
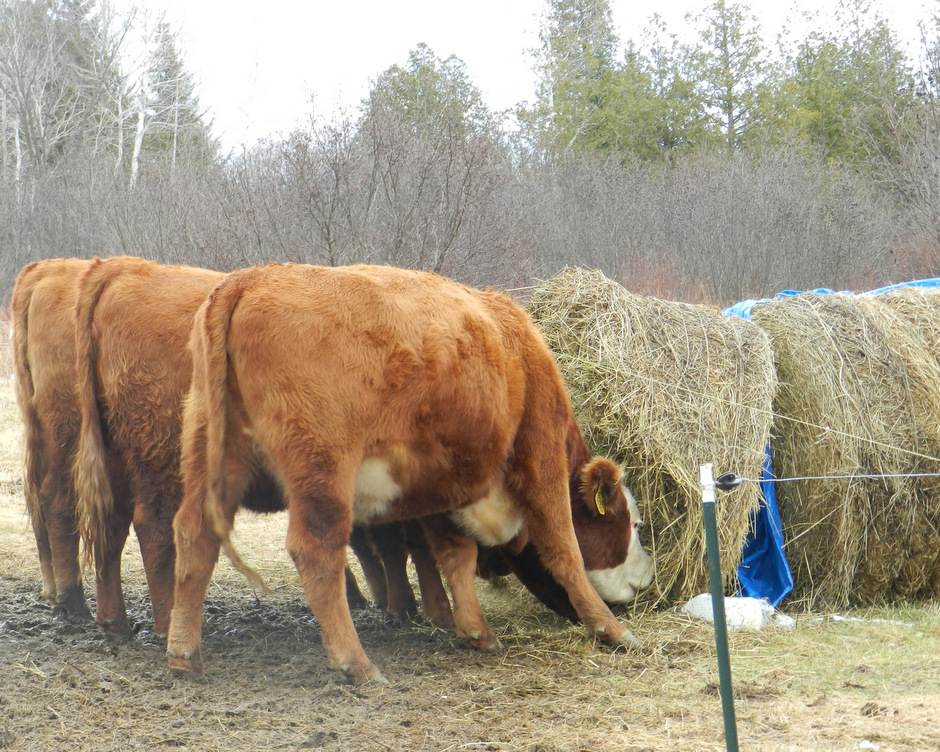
For example, if we want the cows to clean-up hay at the bottom of the bale, we would move the wire towards the top of the bale, careful not to place the wire too high as to allow the cows to step under it.
If we want the cows to tackle the top part of the bale, we would move the wire further down the bale, being careful, though, not to place the wire too low, as to allow the cows to step over it.
In addition to checking and adjusting the height of the wire, we also ensure the wire’s tension with the use of wire tensioiners.
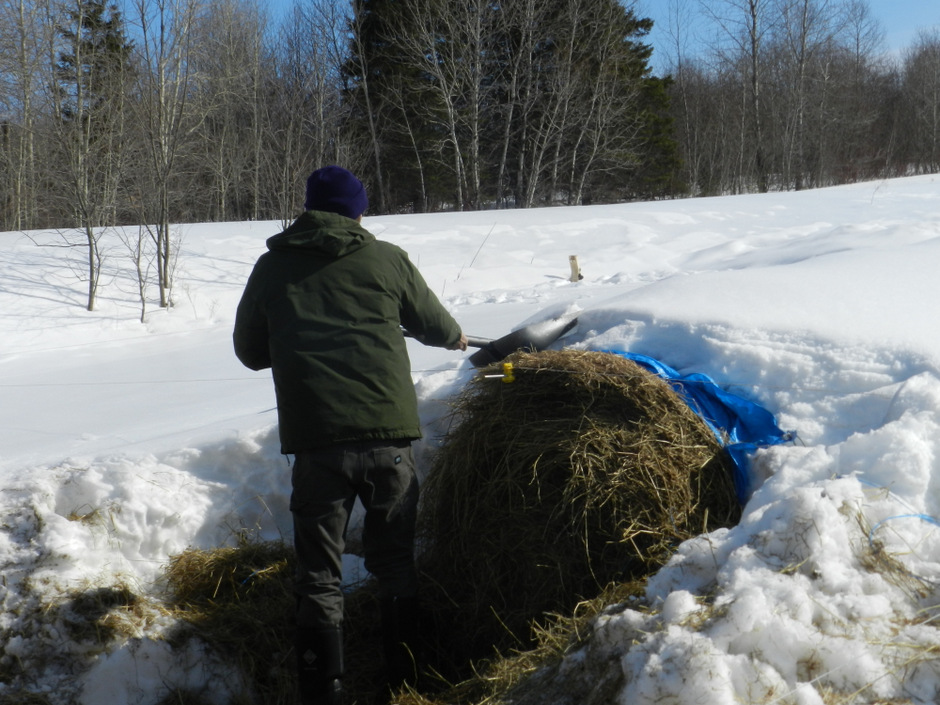
Day-to-day maintenance on the hay bales also involves cutting string and removing tarps, cutting out frozen and/or moldy hay, and shoveling snow from the tops and sides of the bale and away from the wires as needed. At times, we will find that an insulator has popped off the rod so we will screw the insulator back on the rod and re-run the wire through it.
In addition to the physical aspect of maintaining and monitoring our hay bale grazing, we also keep written and computer records. Using graphing paper, we sketched a diagram of each of our 3 hay bale grazing locations. We included the start date for that location, as well as the start and end date for the individual bales. We also maintained an Excel spreadsheet documenting the start and end dates for each hay bale and an area for us to record comments and observations.